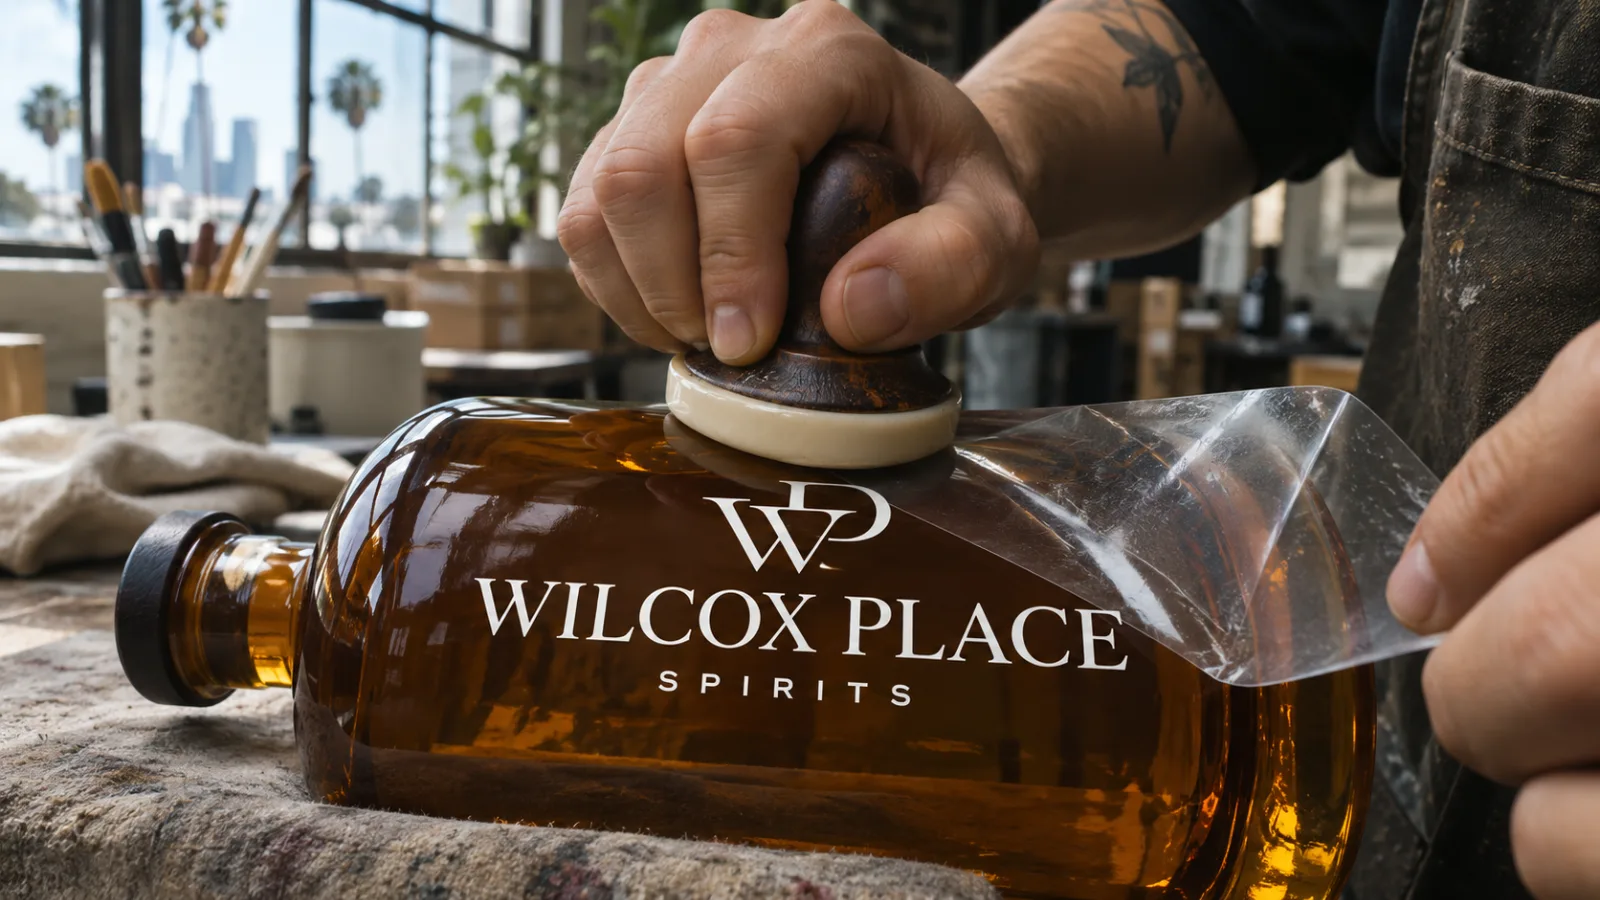
Rub-on transfers give you crisp lettering and logos that look painted on, not stuck on. There is no clear film edge to catch the light or peel up. That is why prop makers, packaging designers, museums and restorers use them.
What a rub-on transfer is
A rub-on transfer is ink with a thin adhesive back, printed on a clear carrier sheet. You place the sheet on your surface, rub over the design and peel the sheet away. Only the ink stays.
They are also called dry transfers or rubdowns. “Dry” means you do not need water or heat to apply them. That sets them apart from water-slide decals and heat transfers.
Why rub-ons beat stickers and labels
- No edge. A sticker has a clear border. A rub-on leaves only the design.
- Fine detail. Small text and thin lines stay sharp.
- Bends with the surface. Rub-ons follow bottles, curves and textured surfaces.
- Tough. They resist heat, water, oils, solvents and wear.
- Easy to apply. No water, heat or special tools.
What rub-ons stick to
Rub-on transfers stick to glass, metal, wood and plastic. They work on smooth, curved and grained surfaces. The surface must be clean, dry and free of dust, grease and oil. Wipe it with a little rubbing alcohol first and let it dry.
Who uses rub-on transfers
- Packaging designers make sample bottles, boxes and cans look like the finished product for pitches and photo shoots.
- Film, TV and photo prop makers put custom labels and logos on props that hold up in close-ups.
- Museums and galleries use them for wall labels and exhibit titles that look painted on the wall.
- Restorers bring back logos and lettering on instruments, vehicles, aircraft and antiques.
- Model makers and architects add fine lettering and details to models and samples.
Colors and finishes
- Your exact brand color, matched
- Gold, silver and Pantone foils
- Metallic Pantones
- Fluorescent yellow, pink, orange, green, blue and red
- Opaque or transparent
- Gloss, satin or matte
How to apply a rub-on transfer
- Clean the surface with rubbing alcohol and let it dry.
- Trim around the design, place it face up and tape one edge so it cannot shift.
- Burnish the whole design with firm, even strokes. Use a burnisher with a rounded tip, not a sharp pencil.
- Lift the sheet at a low angle. If any part stays on the sheet, lay it back and rub again.
- Lay the backing paper over the design and burnish once more to set it.
Our step-by-step guide has more tips.
How to order custom rub-ons
- Email a PDF of your design and layout to cliff@cliffdigital.com. We take Mac and PC files and film negatives.
- Mark each Pantone color.
- Files in by noon usually ship the same day.
See rub-on pricing and sheet sizes, or our custom rub-on transfers page.
Rub-on transfer questions
What is a rub-on transfer?
A rub-on transfer is ink with a thin adhesive back, printed on a clear sheet. You rub it down and peel the sheet away. Only the ink stays on the surface.
What surfaces do rub-on transfers stick to?
Rub-ons stick to clean, dry glass, metal, wood and plastic, including curved and textured surfaces.
Do rub-on transfers need water or heat?
No. They are called dry transfers because you apply them with light pressure only. No water, heat or special tools.
How fast can I get custom rub-on transfers?
Files in by noon usually ship the same day.
Get a free estimate
Tell us what you need and where it goes. We will send a free estimate, and you will see a proof before anything prints.
Get a Free EstimateOr call (310) 323-5600, Monday to Friday, 8 AM to 5 PM.
